Since I have written my last guide to the lake book page, there have been some great updates.
Firstly under your profile, you have the ability to change from 24 hr clock to standard time. Your profile can be found at the bottom of the page on the left-hand side; once you have signed into the Lakebook.

All changes must be saved

You can change from meters to feet centigrade to Fahrenheit using the down arrow under the units.

This will be reflected on the right hand side of the screen when viewing your chosen venue.

Also on the right-hand side of the screen, you have the ability to view what the symbols mean by clicking on the I button.
Measuring distance from point to point has not changed, this is still under the ruler button.


This changes into an X, you can now click on the screen at point A and then on point B

And a line will be drawn between the points and a distance calculated in your chosen measurement scale

If you are like me and wish to remove any unwanted information when looking over the bathymetry, if you click on the two squares on top of each other, a panel will appear with the choice of removing or putting them back on display.

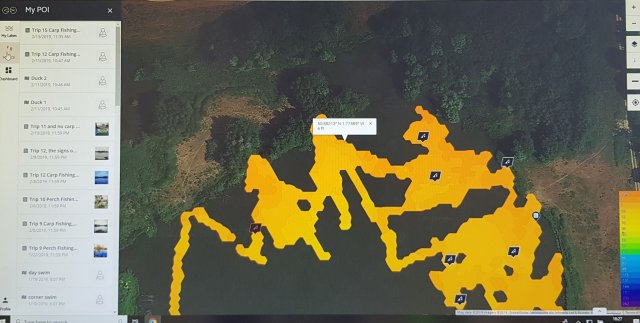
POI = Point Of Interest or notes you have created on your deeper app on your phone/tablet. On the screenshot below it is displayed as a page or a map symbol. The map is the point you were standing in and the other is a note feature (where you can add pictures and notes).

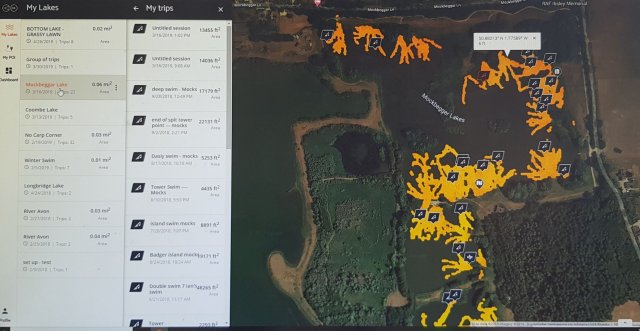
Trips – is the individual records you’ve completed. This is depicted by a-rod/reel symbol and if clicked on will display the area mapped at the time.

As before, you can switch between satellite or map view and remove whichever feature takes your fancy.

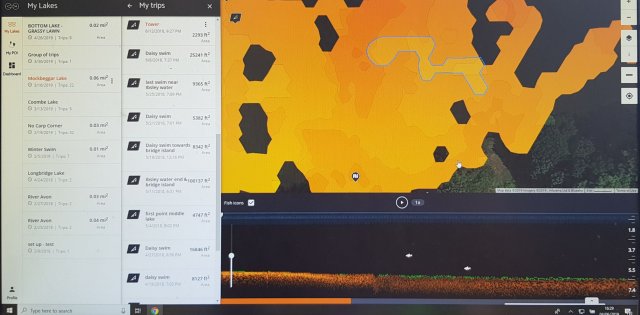
On the left-hand side of the screen, you also have my lakes, POI, and dashboard.
If you click on my lakes, it will bring up all the lakes/areas you have mapped. If you click on one, it will expand another column; this being your point of interest (POI). Remember you don’t have to name them, but it does help. If you want to drill down into the bathymetry of each area, just click on one and it will open up the reading for this swim and the sonar readings recorded at the time. As before, you can drag either play the sonar recording or move the bar along the bottom of the screen looking for features etc.
To rename each one – you click on the three dots, it will open up another a drop-down menu box, and then select edit info to rename, this will appear in the middle of your screen and simply change the title line.
If you need to know the depth of a particular spot, just click on the map and it will display.

If you click on the POI button on the left, you will get all the POI’s and notes you have created on the Deeper app.
The last button on this page is your dashboard, it gives you a summary of what you have been up to.

I hope this has helped you understand the Lakebook page a lot better and has given you a greater understand of the information available. And more importantly, put some more fish on the bank for you!
Till next time
Richard
![]()