
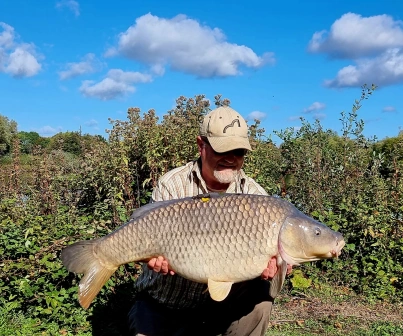
After having a chat with a friend the other day, I realized that it would be good to give a guide on how I take my phones and videos with my mobile phone.
I started using a mobile phone for my photographs of carp many years ago as I was having to walk a long way with my kit and needed to really cut things down a lot. I looked at my camera bag with all the kit in it and decided it was time for it to go. I’d been using an SLR since the early ’90s which had a film in it. I then switched over to a DSLR back in 2000 but that bag was heavy and took up a lot of space.
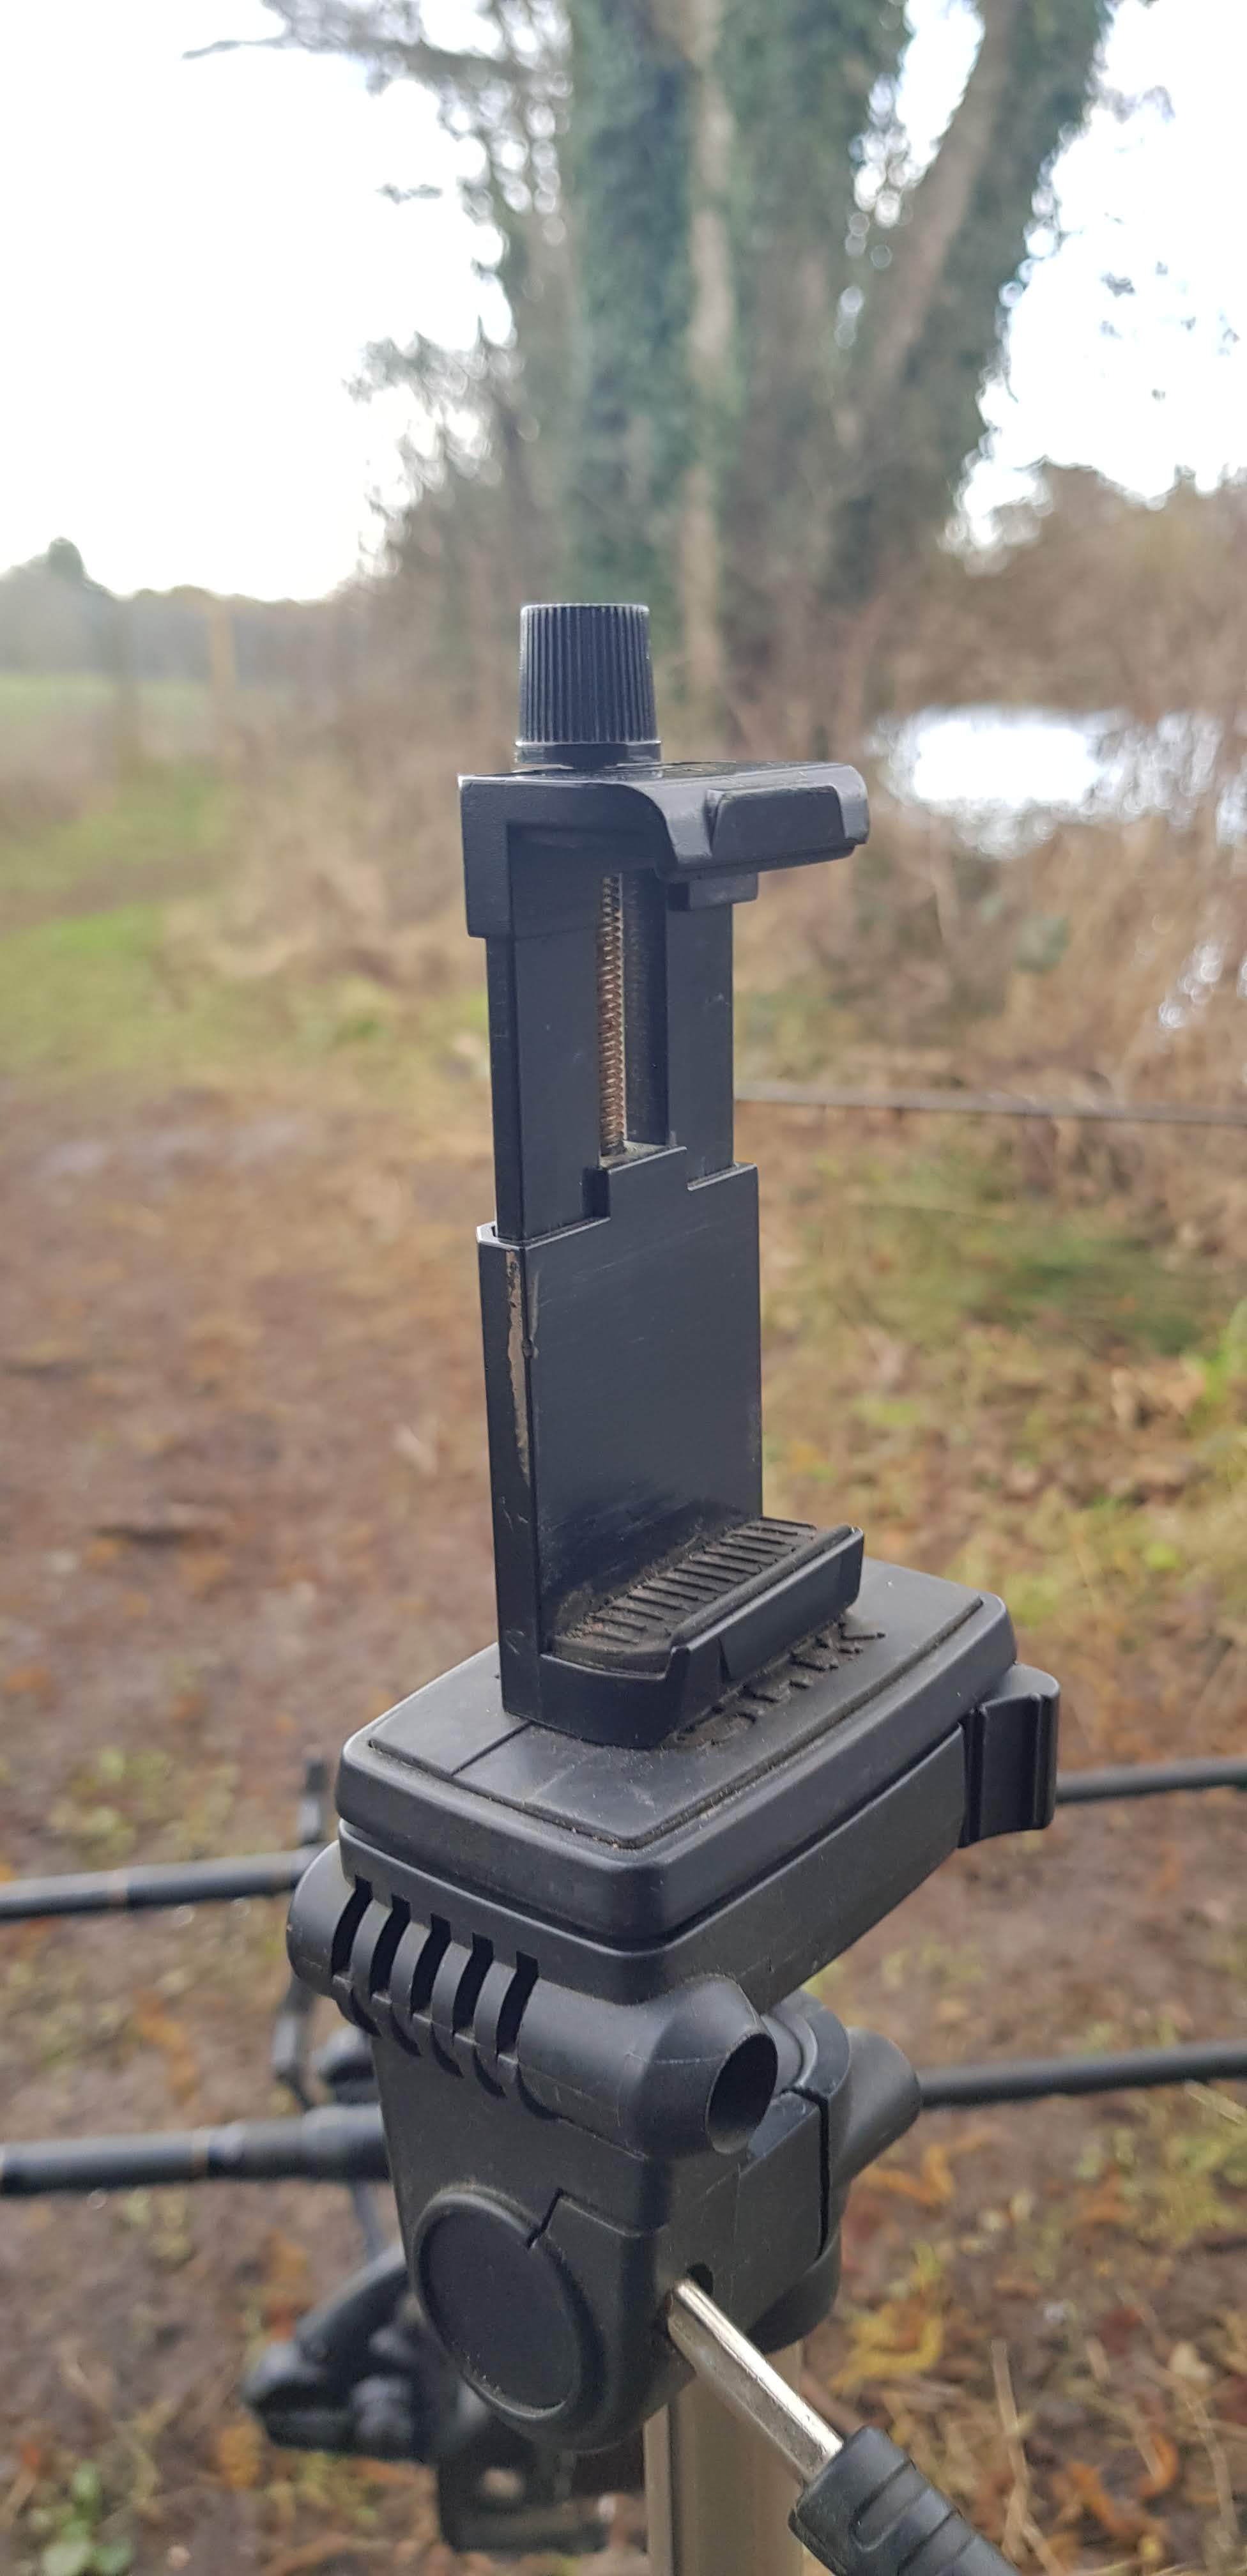
So, I started to play around with my mobile phone, but still using my tripod with a phone adapter attached and this worked extremely well. In the beginning, I had to download an app that would take multiple shots at timed intervals. Now modern phones come with built voice control or you can download a whistle app, if you don’t fancy saying Cheese, shot, etc out loud. You can even get a Bluetooth button that you can press, similar to the old-style DSLR remotes and the whole package is very cheap. Approximately 90% (if not more anglers) have a mobile phone, megapixels are extremely high and if you are only using them on social media, where the Megapixels are reduced when you upload photos, there’s no real need to have a DSLR anymore.

Below is my guide to how I do all my photos and videos.
1. I use a camera tripod that extends to about 2ft 6in. I find this is the perfect height for me to take a photo when taking photos of fish. If you’re taller, there may be a need to have a tripod that extends to 3ft 6in.
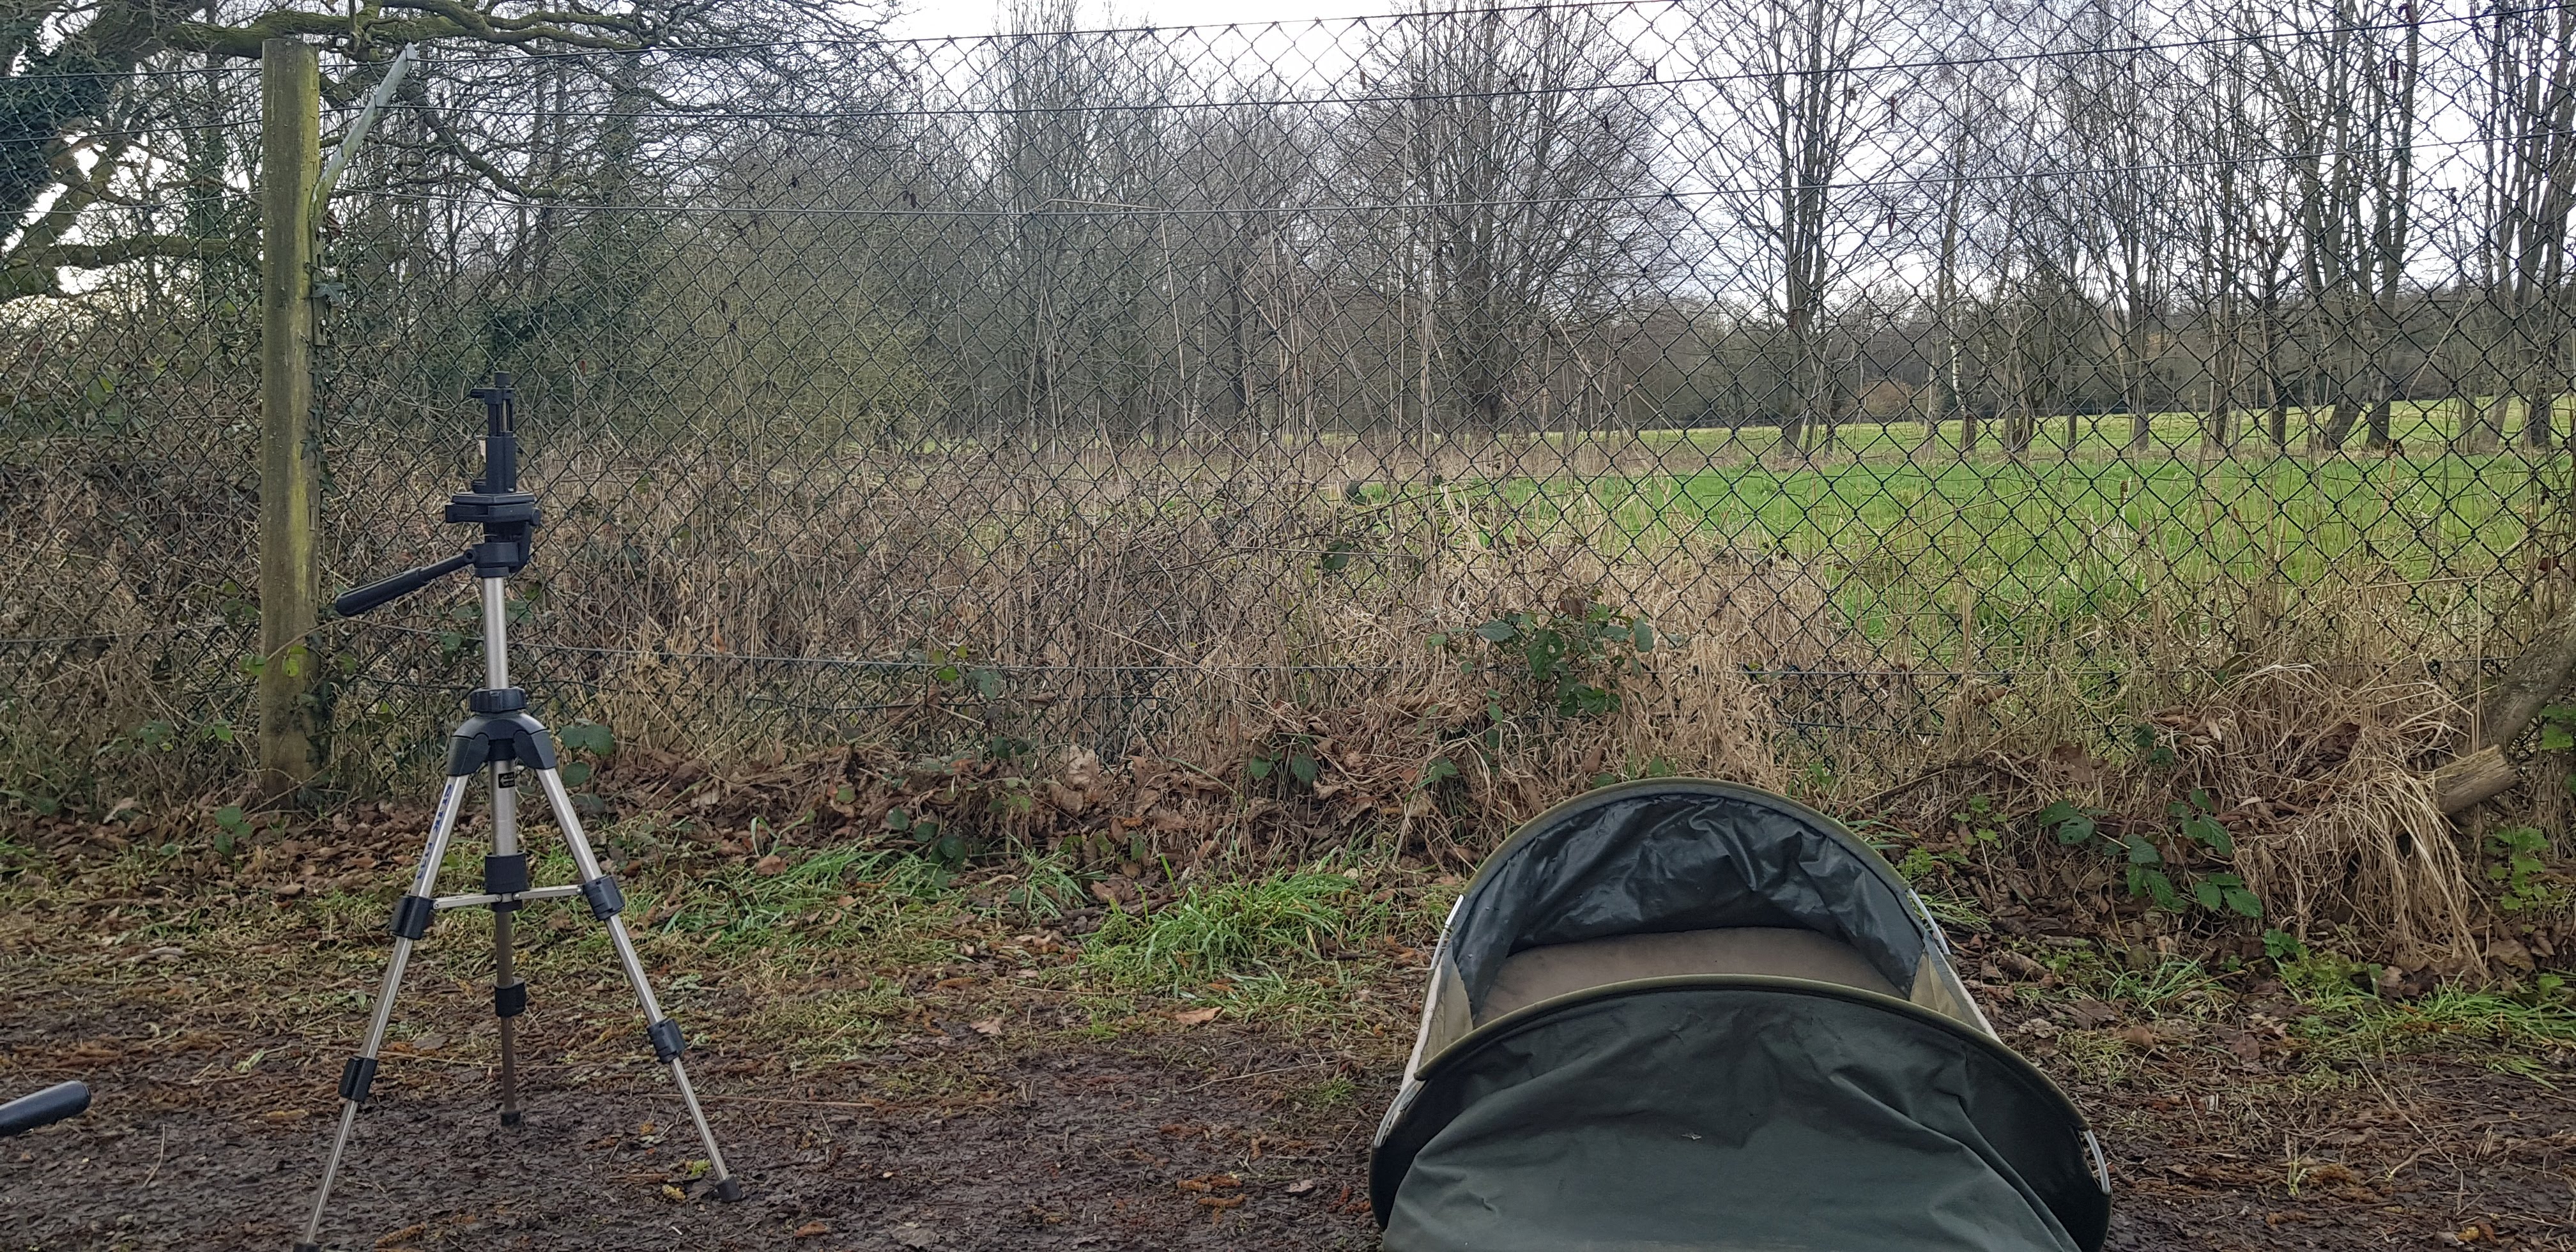
2. I set up my tripod about 3ft away from my unhooking mat and make sure that a single leg is pointing directly at the middle of the unhooking mat. This is to centralize the camera and then lower the angle of the camera to see if both ends of the unhooking mat are perfectly aligned.
3. Until you get the distance and angle correct of your camera, it’s best to test and practice as much as possible.
4. I always check my photos every time before I put the fish back into the water. It’s never a good thing to find out the photos are rubbish after the fish is back in the water. This is something I’ve always done since I got my first DSLR. I remember those days when you had a film in your camera and would take months to use all the photos up on the roll, then take it down Boots, Jessops, etc, get the photos back and 75% could easily be rubbish. I’m glad those days are gone.
5. I do exactly the same when doing my videos for my blogs and edit out all the bits I don’t need.
Big tip
I often just video the whole process and when I hold the fish still, I compose myself for a few moments. You can then simply scroll through the video and then do a screenshot of your fish. This can save time and if you don’t fancy talking or whistling out loud, it’s all personal taste.
My other big tip is to face the camera towards you and not in selfie mode. Once you have mastered it, there’s no way of going back.
I use this setup whenever I catch a carp, even when there is someone else around to take the photographs, it just takes the worry away from getting it wrong.
You can reduce your phone kit even down every more by using a single bank stick and an adapter that you screw into the bank stick. You attach your phone adapter to the other end.

I hope this has helped you, to simplify your photography and reduce the amount of bags you need to take.
Until next time
Richard


Get 10% off Deeper with Code – RICHARD10
![]()
![]()